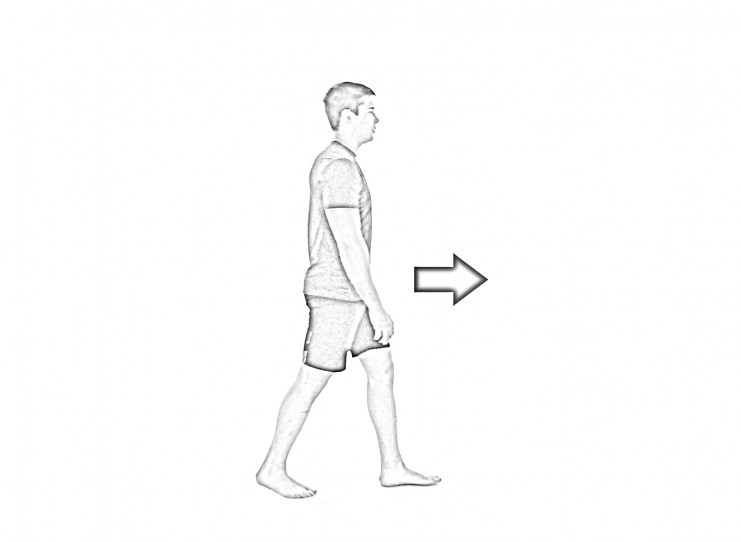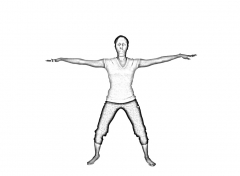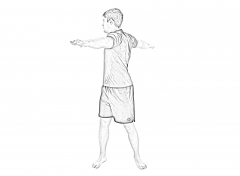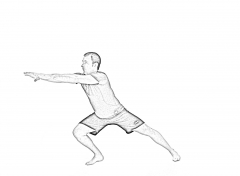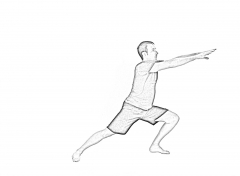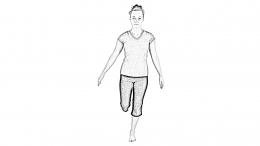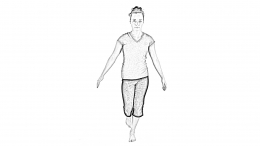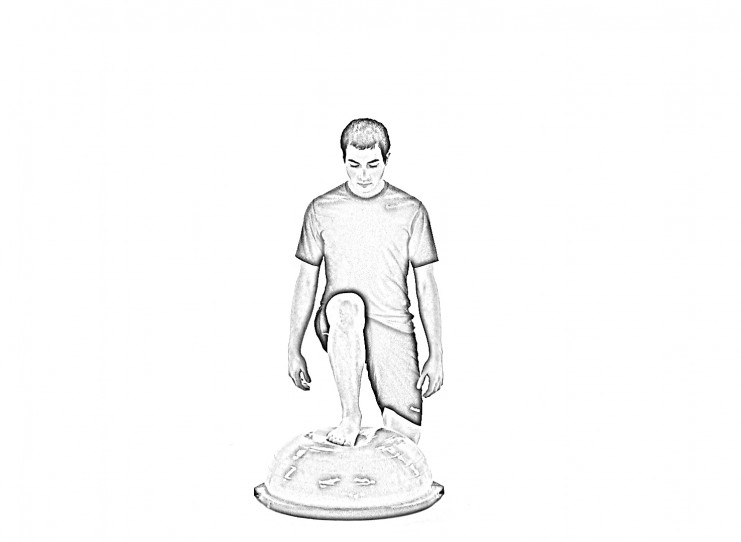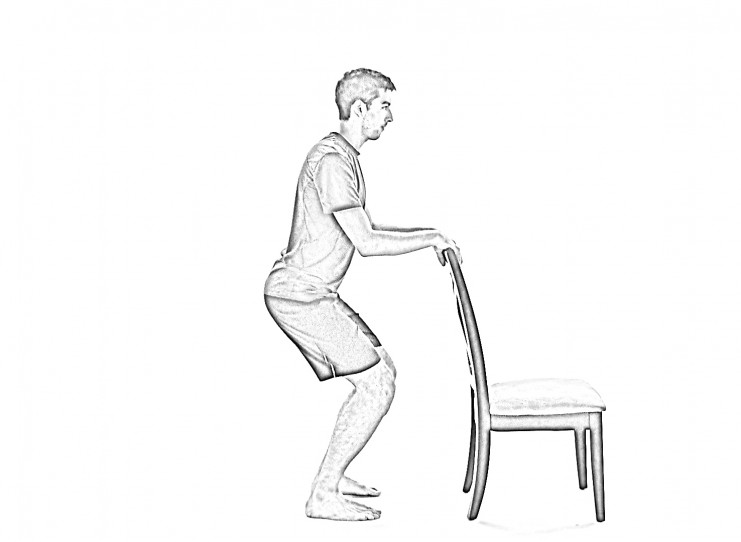
There are many benefits to performing a stretching routine in the morning.
Of course, it will help improve your flexibility, which is an important factor in reducing general muscle soreness or even delayed onset muscle soreness (DOMS) after an intense workout.
Other benefits to stretching in the morning can also improve your posture, reduce stress, and more.
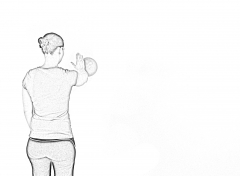
6 Benefits of stretching in the morning
- Reduce muscle soreness and increases your flexibility
- Have you woken up just feeling sore because you slept funny or you’re getting older? If you haven’t tried stretching you should consider it in the morning as it can help reduce your soreness while increasing your flexibility. It will help prevent the muscle from causing you further pain.
- If you work out regularly you might feel the effects DOMS or delayed onset muscle soreness. You should consider implementing a morning stretching routine to help reduce your DOMS and it can also help improve your performance during physical activities.
- Stretching regularly can help increase your range of motion, especially after a full nights rest you might find yourself a bit stiff in the morning. Taking the time to do a few stretches can help reduce your stiff/sore muscles and improve range of motion. It may also pay dividends in that you might feel less stiff every day the more you stretch.
- Performing stretches regularly may improve circulation increases blood flow to your muscles, which can aid in recovery time and reduce muscle soreness (also known as delayed onset muscle soreness or DOMS).
- Muscle tightness might lead to imbalances and are common cause poor posture. A combination of strengthening, balance, and stretching specific muscle groups can reduce body pain and encourage proper alignment which may help improve your posture.
- While a stretching routine can help increase your flexibility and mobility, it can also be used as a method of meditation to help focus the mind. While you stretch, focus on your breath while performing your stretches, this will help clear your mind and allow you to relax deeper into your stretches.
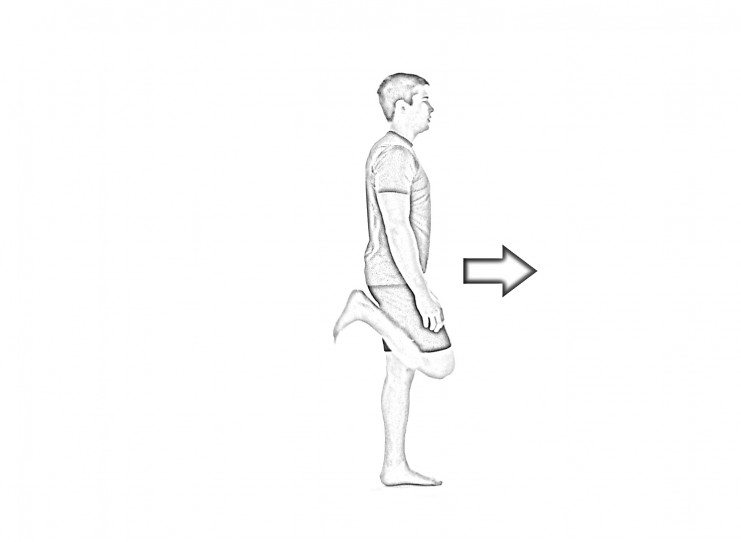
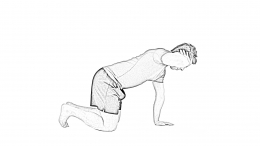
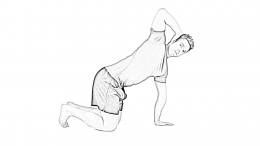
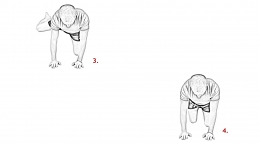
Stretching techniques
There are several types of stretching techniques which are outlined in more detail in the first chapter of our stretching guide, but include the following:
- dynamic
- static
- ballistic
- PNF
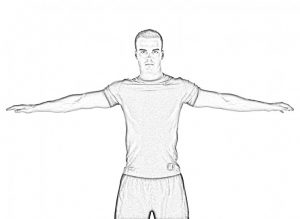
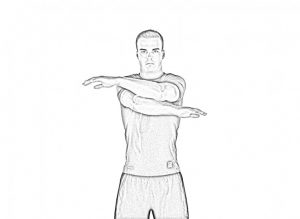
Here is a quick sample routine you can follow to get the benefits of stretching in the morning. Most of the stretches we will show can be done while lying in bed. So let’s look at how you can to get the blood flowing and loosen up those tight muscles.
Sample Morning Stretching Routine
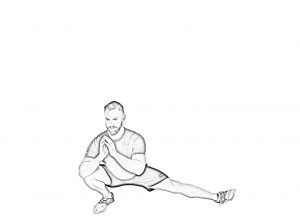
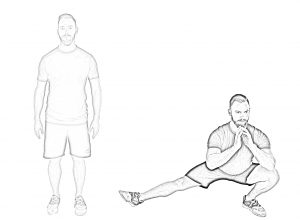
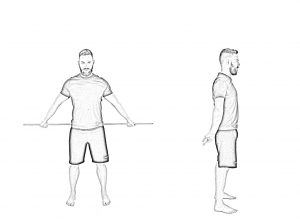
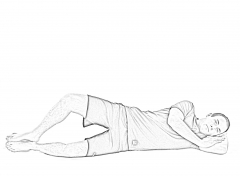
Adductor Stretch Exercises
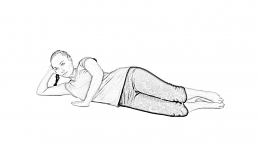
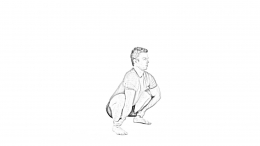
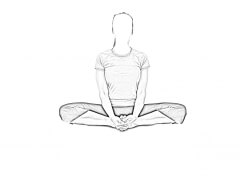
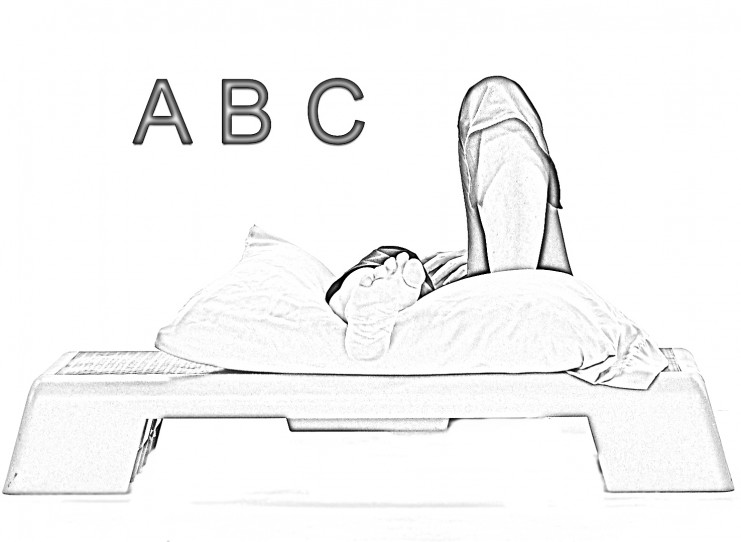
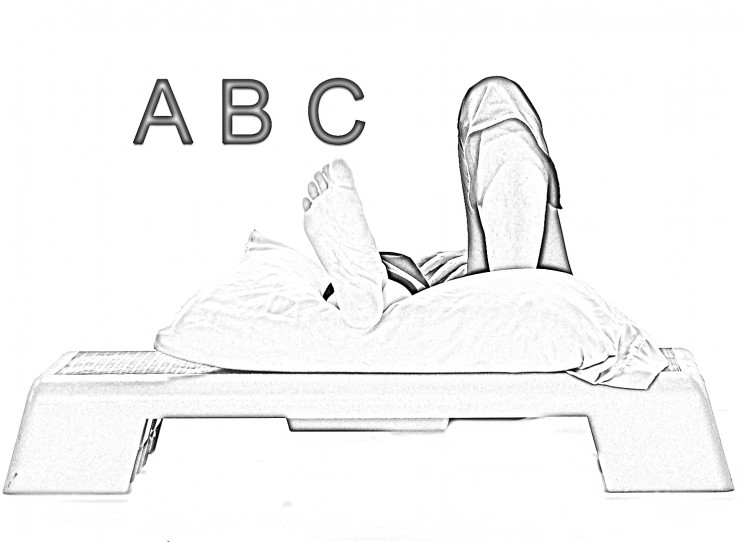
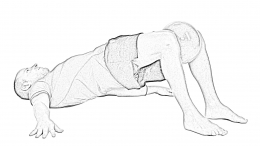
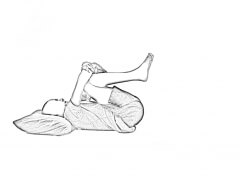
Lying Butterfly Stretch

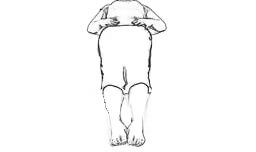

- Lie on your back.
- Bend your knees and place the soles of your feet together.
- Let your knees drop slowly away from each other until you feel a comfortable stretch in your groin.
- Hold the stretch for 20-30 seconds.
- Relax.
Abdominal Stretching Exercises
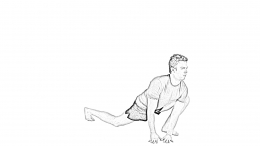
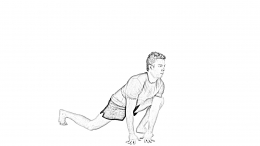
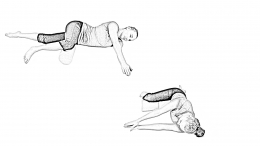
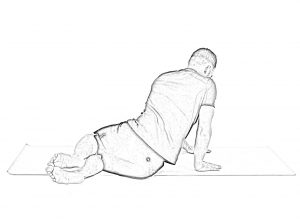
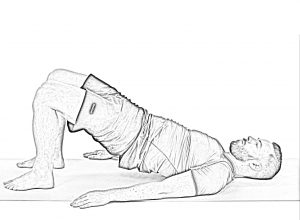
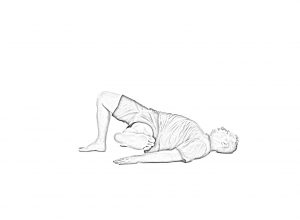
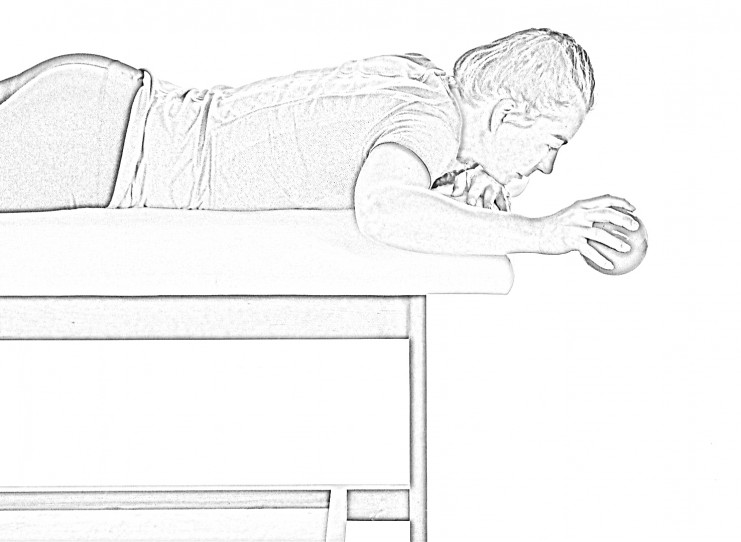
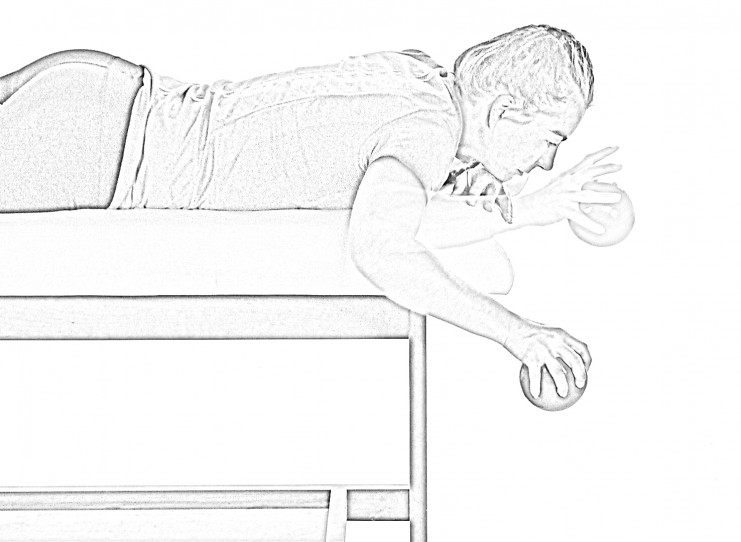
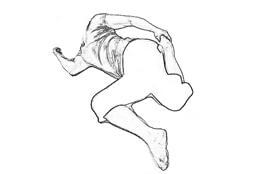
Baby Cobra Pose


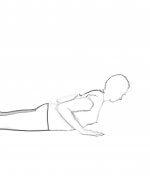
- Start lying down on your stomach with your palms on the floor directly under your shoulders. Your feet should be pointed.
- Keeping your elbows to your sides, press your hands firmly into the floor and begin to lift your chest into a mild backbend.
- Once in position, actively press your shoulder blades into your upper back and expand your chest as you breathe in.
- Without lowering your chest, draw your shoulders away from your ears as to elongate your neck and lifting the base of your skull away from your shoulders.
- When you are ready to come down, slowly lower yourself to the floor, keeping your torso long.
- Hold the stretch for 20-30 seconds.
Glute Stretching Exercises
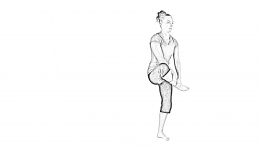
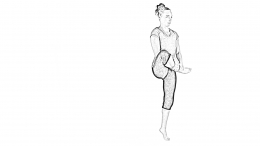
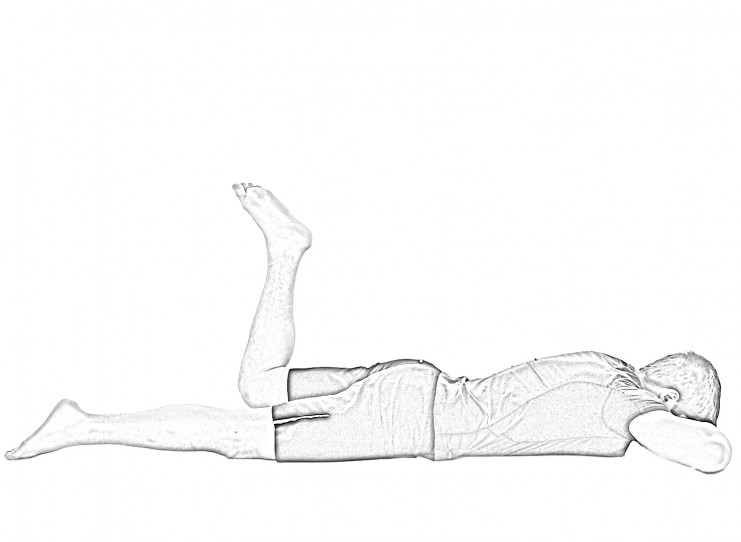
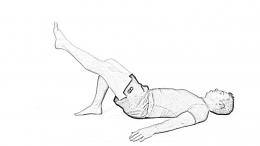
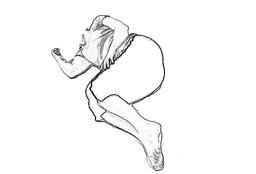
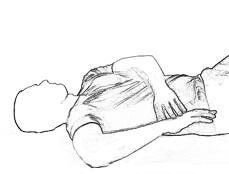
Supine Glute Stretch


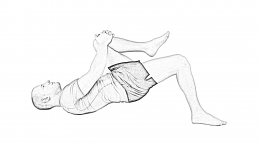
- Lie on your back and lift the affected leg to your chest and grab your knee with the opposite hand.
- Gently pull your leg across your chest to the opposite shoulder while rotating your leg inward until a stretch is felt deep in the buttocks.
- Maintain the position and relax.
- Hold the stretch for 20-30 seconds.
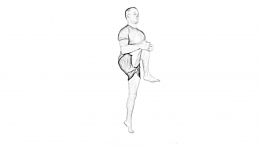
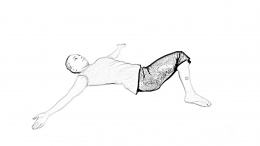
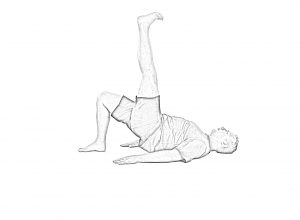
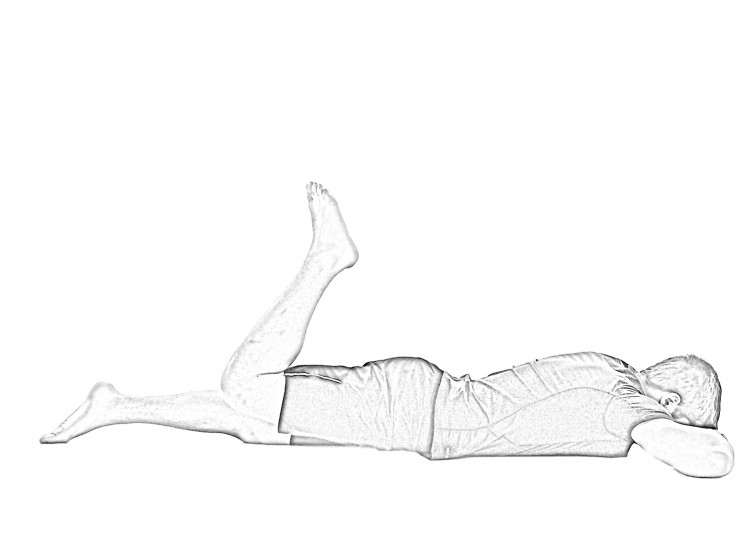
Supine Glute Stretch

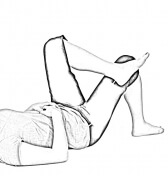

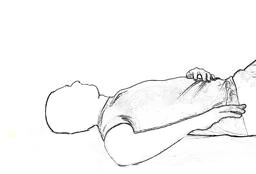
- Lie on your back with your knees bent, place one foot (affected side) over the opposite knee.
- Grab behind the leg that is on the ground with your hands and pull it toward you until you feel a gentle stretch.
- Maintain the position and relax.
- Hold the stretch for 20-30 seconds.
- Push on your knee to increase the stretch.
- Hook a towel or rope around your leg if you have trouble reaching the back of your leg.
-
NOTE:
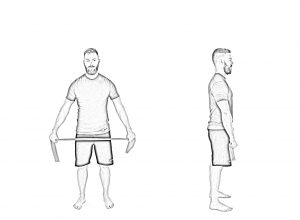
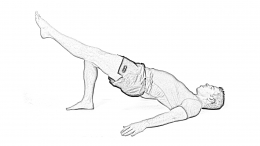
Hamstring Stretching Exercises
SupineHamstring Stretch With Strap

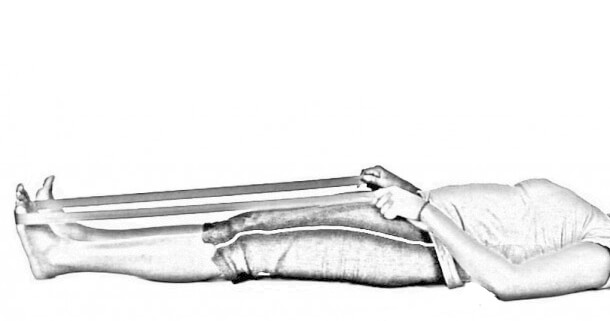
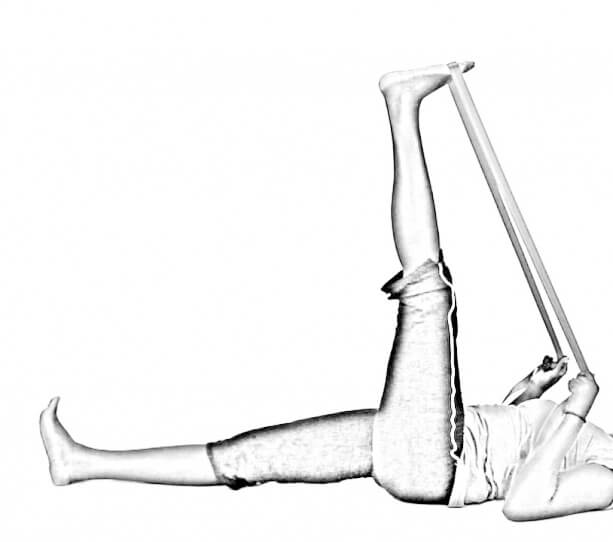
- Lie on your back and place a long strap around your forefoot, holding the ends with your hands.
- Lift your leg straight up, keeping your knee straight, and pulling gently on the strap with your hands until you feel a gentle stretch behind the thigh and calf.
- Hold the stretch for 20-30 seconds.
- If you have low back issues, you can bend the leg that is not being stretched to support your back.
Benefits To Back Stretches
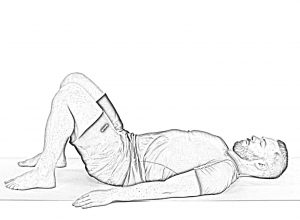
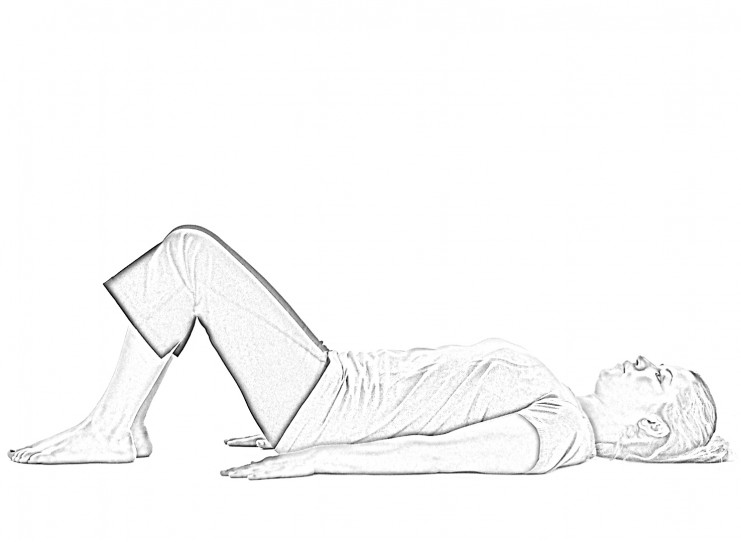
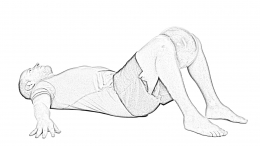
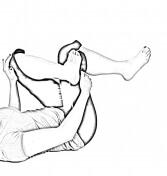
Supine Lumbar Flexion
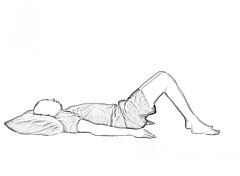
- Lie on your back with your knees bent.
- Raise one knee towards your chest as far as you can, and then raise the other to meet it.
- Place your hands around your knees and pull them gently towards you until you feel a stretch in your back.
- Hold the stretch for 20-30 seconds.
- Relax.
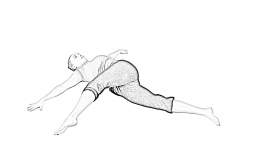
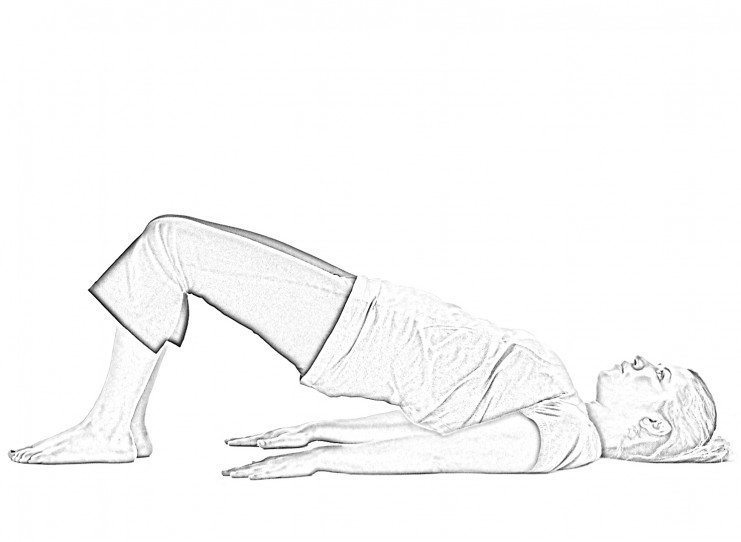
Supine Lumbar Rotation


- Lie on your back with your knees bent and your feet on the floor.
- Place your arms out to the side for stability.
- Slowly lower your legs to one side until you feel a gentle stretch.
- Hold the stretch for 20-30 seconds.
- Return to the central position and repeat.
- Keep your knees together during the movement.
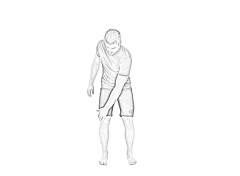
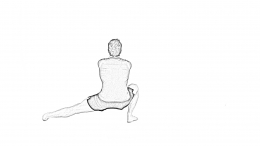
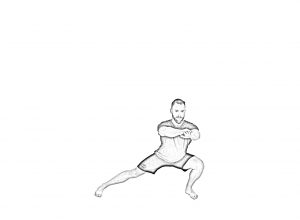
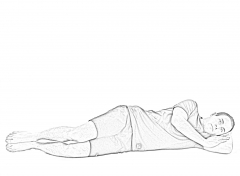
Hip Flexor & Quad Stretching Exercises
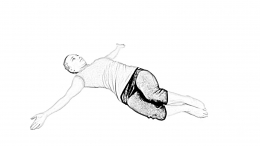
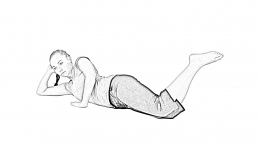
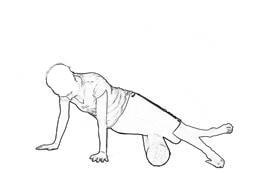
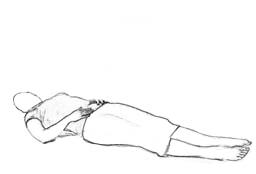
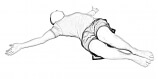
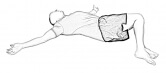
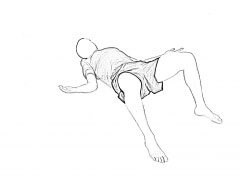
Side Lying Quad Stretch
- Lie on your side with your injured leg up and your bottom knee bent in
front of you to protect your back. - Reach back and grasp your ankle of your injured leg and gently pull towards
your buttocks. - Move your knee back without arching your back until you feel a stretch in
the front of your thigh. - Keep your knee as low to the floor as possible and maintain the
position. - Hold the stretch for 20-30 seconds.
- You can use a towel or a belt around your ankle to pull it towards your
buttocks.
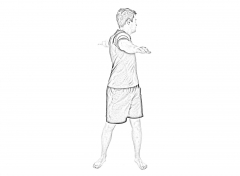
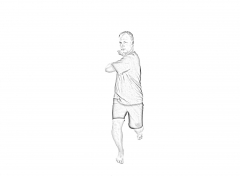
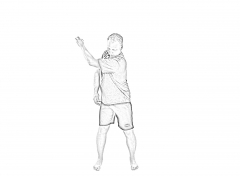
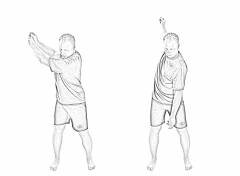
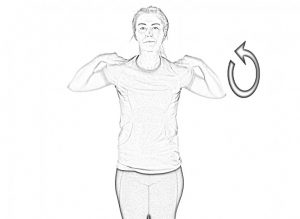
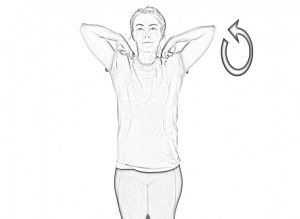
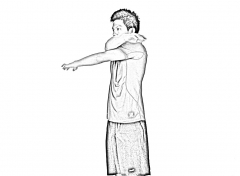
Shoulder Stretching Exercises
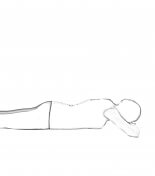
Sleeper Stretch

- Lie on your back with your elbow raised at shoulder height.
- Pull your shoulder back and slowly lower your hand towards your feet as far down as you can without lifting your shoulder off of the ground.
- Apply gentle pressure to your forearm until a gentle stretch is felt in your shoulder.
- Maintain the position and relax.
- Hold the stretch for 20-30 seconds.
- You may use a light weight to stretch instead.
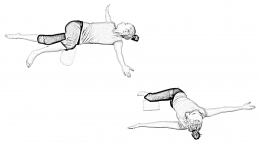
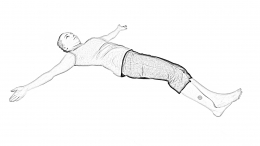
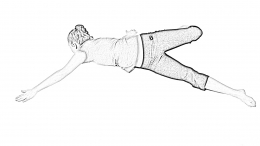
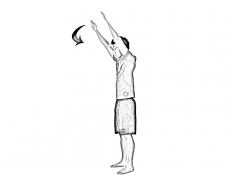
Supine Flexion
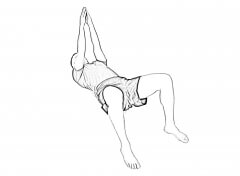

- Lie lengthwise on a long towel roll placed along the mid-back at the most marked curvature or on a foam roller.
- Keep your knees bent for balance.
- Keep the lower core engaged, and the head in a neutral nod.
- Reach both arms up forward to 90 degrees. Slowly lift the arms overhead, being sure not to lift the low back up off the ground.
- Hold the stretch for 20-30 seconds.
- Return your arms to upright and repeat.
- Instead of a long hold, you can also do slow, controlled movements with a short pause at the top. Repeat 10 times.
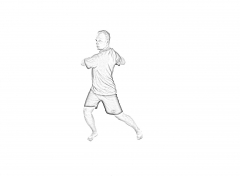
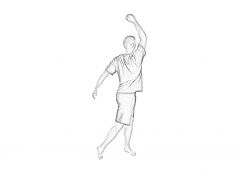
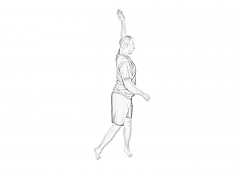
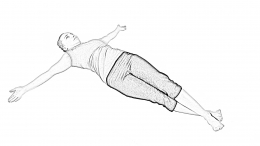
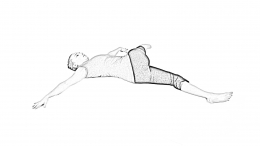
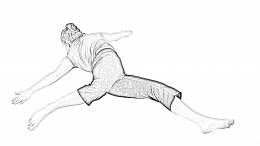
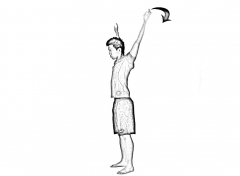
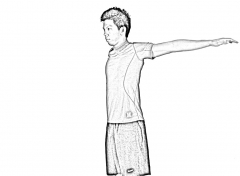
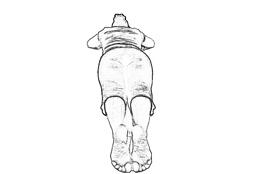
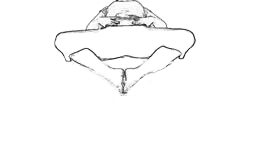
Supine Abduction (snow angel)
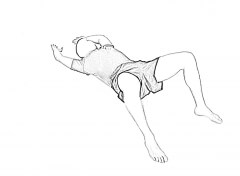
- Lie on your back on either the floor or a foam roller, knees bent and head supported, arms by your side, palms up.
- Engage your lower core muscles to keep the lower back in neutral.
- Keeping the arms back in line with your body, slowly and under control, reach up sideways to overhead, like making a snow angel.
- Return your arms to upright and repeat.
- Howley, E. T., & Franks, B. D. (2007). Fitness Professional’s Handbook (5th ed.). Champaign, IL: Human Kinetics.
- Moore, K. L., & Dalley, A. F. (2006). Clinically Oriented Anatomy (5th ed.). Baltimore, MD: Lippincott Williams & Wilkins.
- Nieman, D. C. (2011). Exercise Testing and Prescription: A Health-Related Approach (7th ed.). New York, NY: McGraw-Hill.
- Sá, M. A., Neto, G. R., Costa, P. B., Gomes, T. M., Bentes, C. M., Brown, A. F., et al. (2015, Mar 29). Acute Effects of Different Stretching Techniques on the Number of Repetitions in A Single Lower Body Resistance Training Session. Journal of Human Kinetics , 177–185.
- Sherwood, L., & Kell, R. (2010). Human Physiology: From Cells to Systems, First Canadian Edition. Toronto, ON: Nelson Education.
Don’t miss out!
Subscribe to our newsletter to get your free copy of our stretching guide and get notifications when we make a new post to help you reach your fitness goals.