Flexibility exercises may not be the most appealing part of working out, but doing mobility work can help build a well-balanced fitness as part of your strength and cardio training.
Including some stretching drills into your workout program will help improve flexibility, lessen tightness, and make workouts more effective.
It’s true that flexibility exercises aren’t exciting, and won’t give you the same feeling as an intense workout. But by not stretching after training will end up creating imbalances in your body.
Unevenness in the body increases your risk of injury as it causes muscles to operate incorrectly by overcompensating for other muscles that are too tight to engage correctly. This leads to strains and discomfort over a period of time of working out and not including flexibility exercises into your regular routine.
When you take the time to warm-up before training and stretch out after your workout, muscles will be looser and less restricted.
This will help ensure that you have the full range of motion (ROM) of your muscles and joints which is important when performing flexibility exercises.
Having ROM will allow you to do more exercises with proper form. So take the time, and stretch out for better longevity with your workout routine and ensure you feel great.
These flexibility exercises don’t need to be limited to just the gym and your workout routine. If you find yourself sitting watching tv or working on the computer you should try to incorporate some of these stretches into your day to day life.
It’s recommended that individuals should take a movement after “sitting 20 minutes out of every half hour at work, standing for eight minutes and moving around for at least two minutes.”
This is a great opportunity to reduce strain from sitting for long periods of time by doing flexibility exercises to improve your range of motion.
If implementing the 20-8-2 rule you can perform some of these flexibility exercises we have provided below we have provided a routine to help relieve muscle tightness and increase mobility.
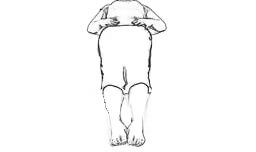
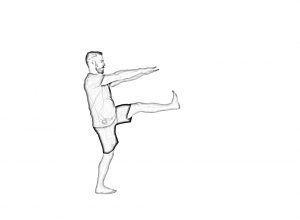
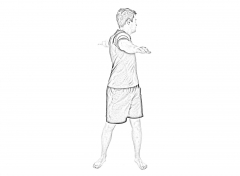
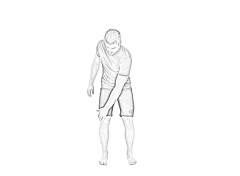
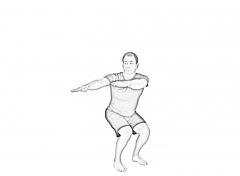
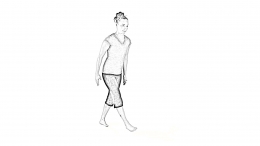
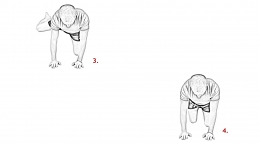
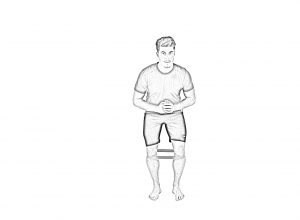
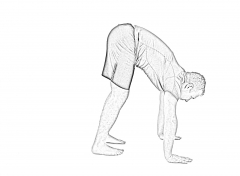
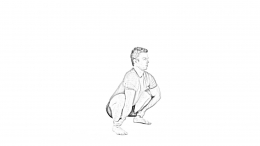
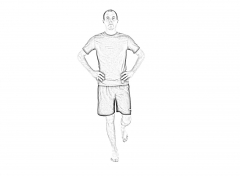
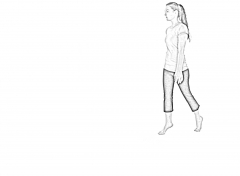
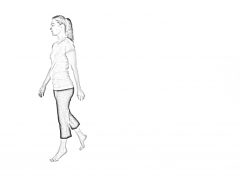
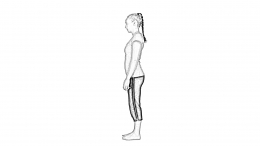
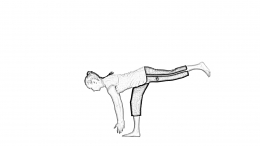
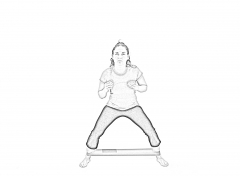
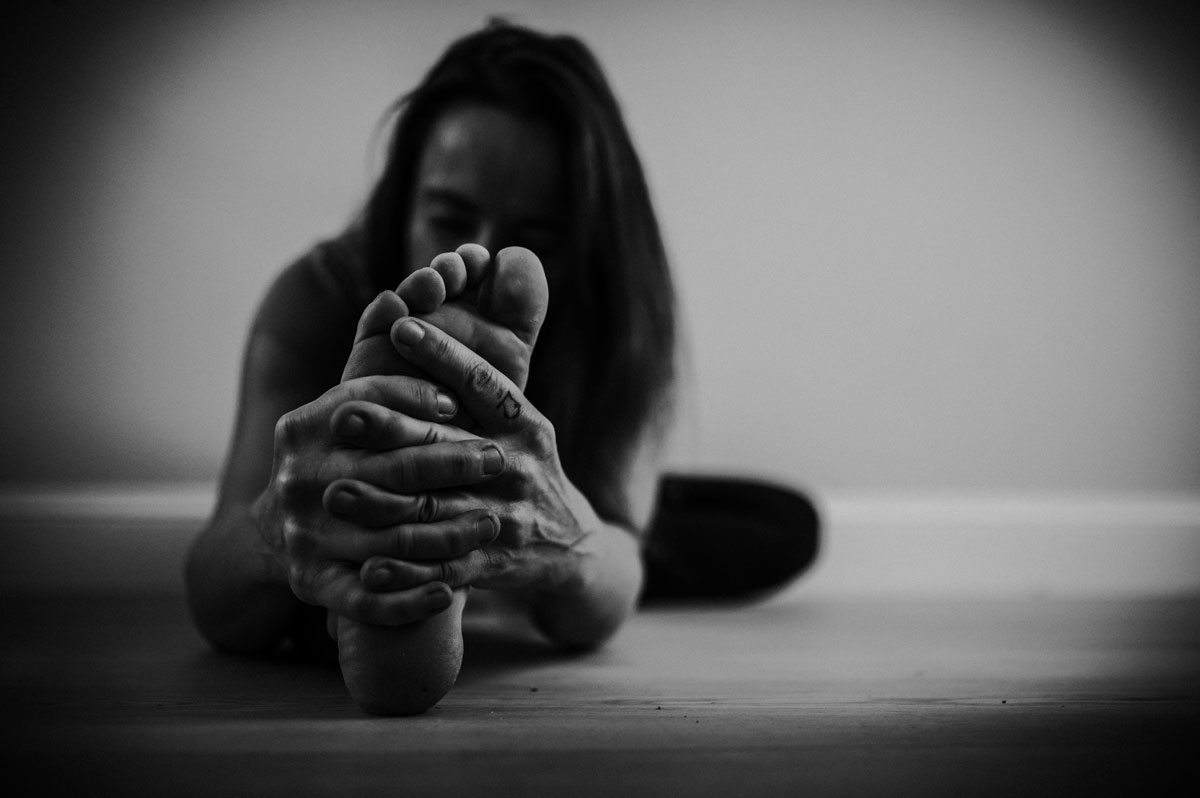
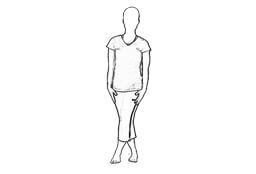
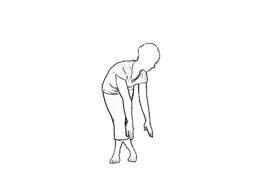
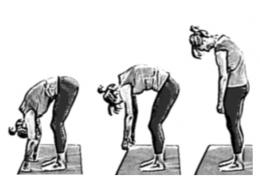
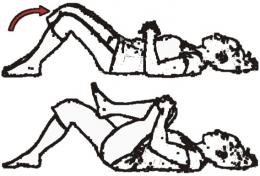
Standing Hamstring Stretch (Standing Trunk Hamstring Flexion)

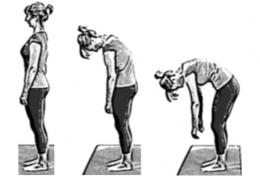
- Keep your back straight and abs tight
- Slowly roll the body toward the bottom starting with the head and trunk Flex knees slightly to increase the flexion of the trunk
- Go back up slowly
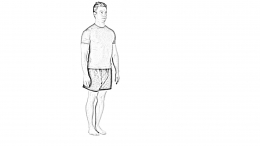
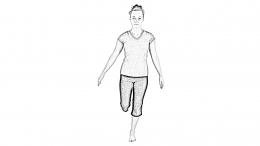
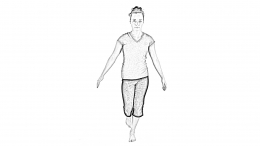
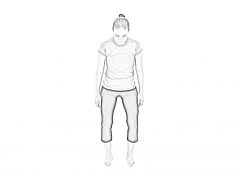
- Stand tall with your feet hip-width apart, knees slightly bent, arms by your sides.
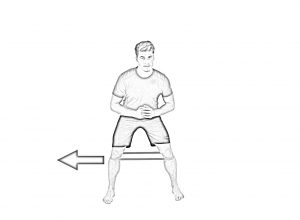
- Exhale as you bend forward at the hips, lowering your head toward the floor while keeping your head, neck, and shoulders relaxed.
- Wrap your arms around backs of your legs and hold anywhere from 45 seconds to two minutes.
- Bend your knees and roll up when you’re done.
Stretches neck, back, glutes, hamstrings, calves
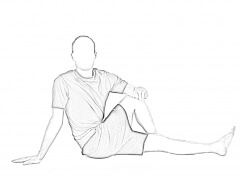
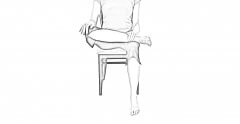
Piriformis Stretch (Flex Buttocks / Hip)

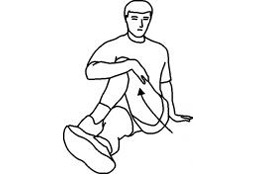
- Sit on the floor with both legs extended in front of you.
- Using both hands, grab the ankle and the back of the knee.
- Cross your right leg over your left, and place your right foot flat on the floor.
- Pull the knee towards chest gently until you feel a gentle stretch at the buttock of the elevated leg.
- Place your right hand on the floor behind your body.
- Place your left hand on your right quad or your left elbow on your right knee (as shown) and press your right leg to the left as you twist your torso to the right.
- If the spinal rotation bothers your back, take it out and simply use your left hand to pull your right quad in and to the left.
Stretches hips, back, glutes
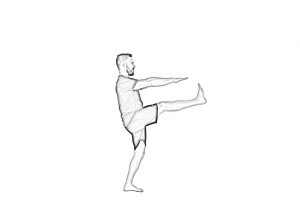
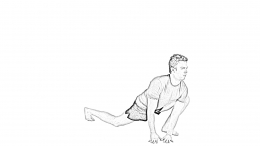
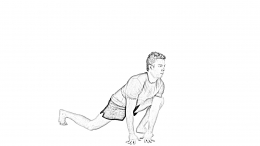
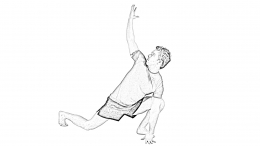
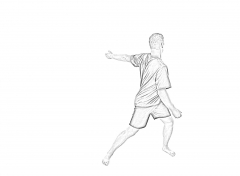
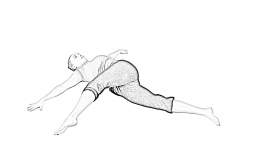
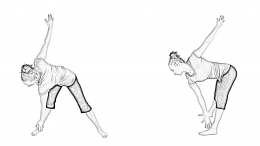
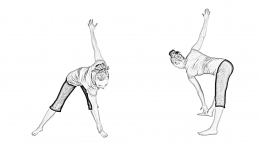
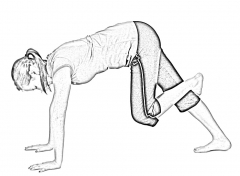
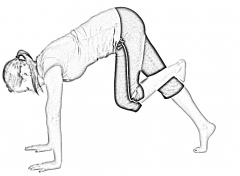
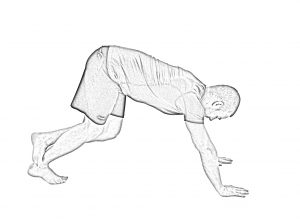
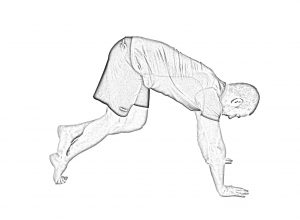
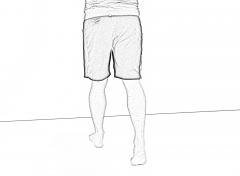
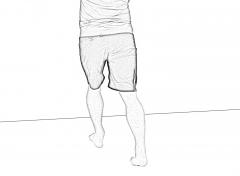
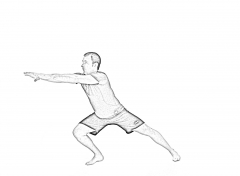
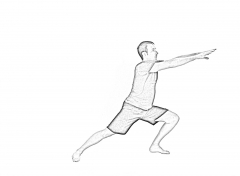
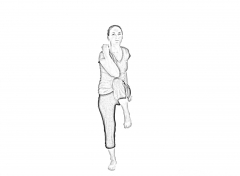
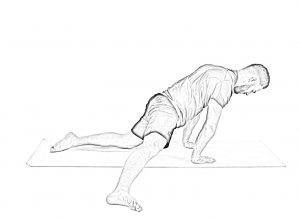
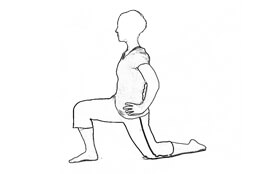
Lunge With Spinal Twist
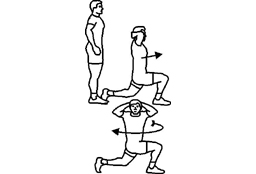
- Take an exaggerated lunge step forward and push the hips forward while keeping the chest up to prevent lower back rounding.
- Bring the hands to the ground and reach overhead with the outside hand.
- Bring the hand on the ground and lift yourself and repeat on the other side.
- Go as low as your flexibility allows.
- Stand up completely between repetitions.
- Keep the upper back rounding to a minimum.
- Hold for 30 seconds to 2 minutes.
- Repeat on the other side.
Stretches hip flexors, quads, back
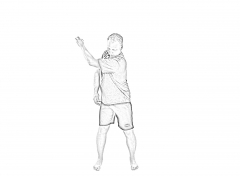
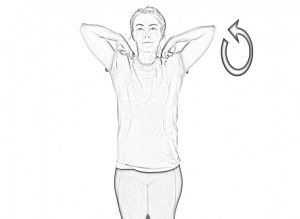
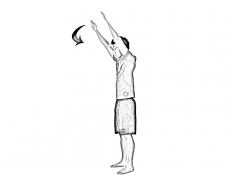
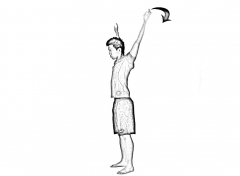
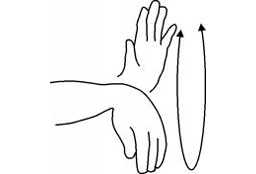
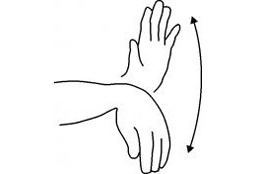
Triceps Stretch
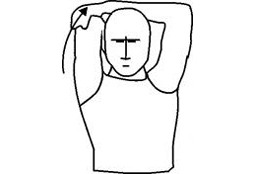
- Kneel, sit, or stand tall with feet hip-width apart, arms extended overhead.
- Bend your right elbow and reach your right hand to touch the top middle of your back.
- Reach your left-hand overhead and grasp just below your right elbow.
- Gently pull your right elbow down and toward your head.
- Switch arms and repeat.
Stretches neck, shoulders, back, triceps
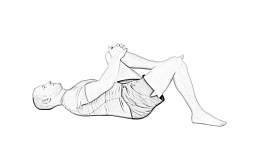
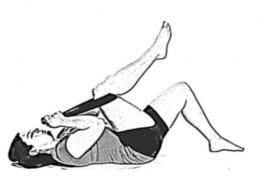
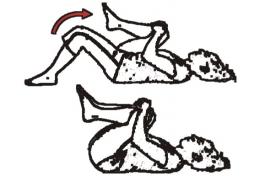
Figure Four Stretch
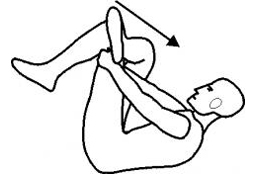
- Lie on your back with your feet flat on the floor.
- Cross your left foot over your right quad.
- Lift your right leg off the floor. Grab onto the back of your right leg and gently pull it toward your chest.
- When you feel a comfortable stretch, hold there.
- Hold for 30 seconds to 2 minutes.
- Switch sides and repeat.
Stretches hips, glutes, lower back, hamstrings
90/90 Stretch
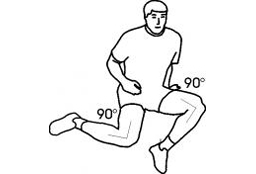
- Sit with your right knee bent at 90-degrees in front of you, calf perpendicular to your body and the sole of your foot facing to the left. Keep your right foot flexed.
- Let your leg rest flat on the floor.
- Place your left knee to the left of your body, and bend the knee so that your foot faces behind you. Keep your left foot flexed.
- Keep your right butt cheek on the floor. Try to move the left cheek as close to the floor as possible. It may not be possible if you’re super tight.
- Hold for 30 seconds to 2 minutes.
- Repeat on the other side.
Stretches hips
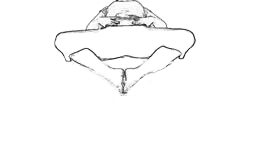
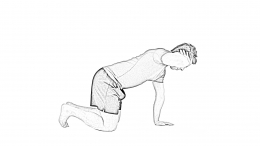
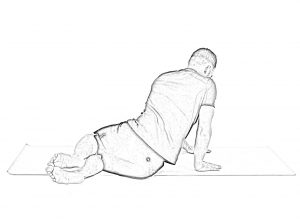
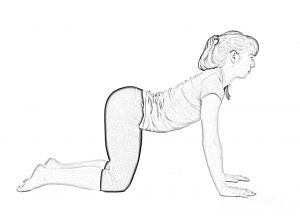
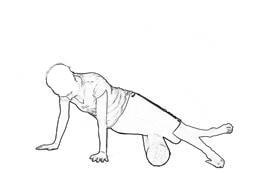
Frog Stretch
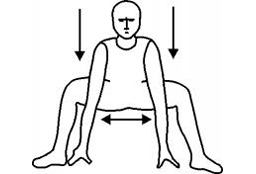
- Start on all fours.
- Slide your knees wider than shoulder-width apart.
- Turn your toes out and rest the inner edges of your feet flat on the floor.
- Shift your hips back toward your heels.
- Move from your hands to your forearms to get a deeper stretch, if possible.
- Hold for 30 seconds to 2 minutes.
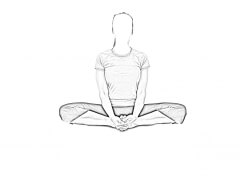
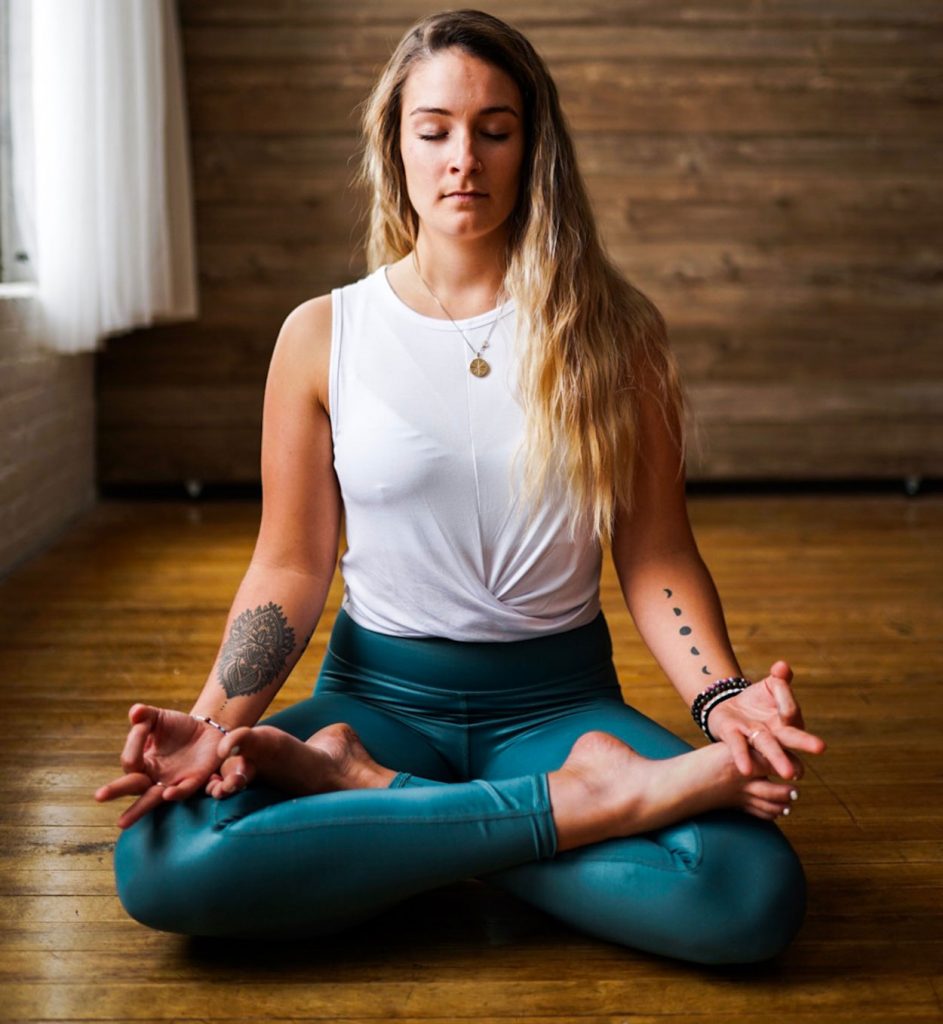
Butterfly Stretch
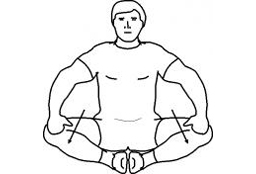
- Sit tall on the floor with the soles of your feet together, knees bent out to sides.
- Hold onto your ankles or feet, engage your abs, and slowly lower your body toward your feet as far as you can while pressing your knees toward the floor.
- If you’re too tight to bend over, simply press your knees down.
- Hold this stretch for 30 seconds to 2 minutes.
Stretches hips, glutes, back, thighs
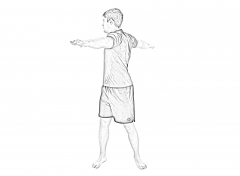
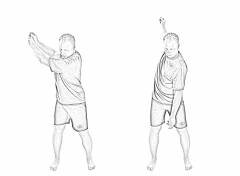
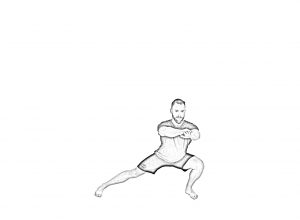
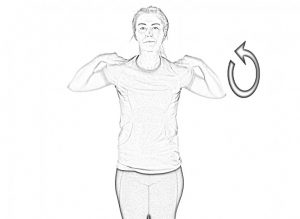
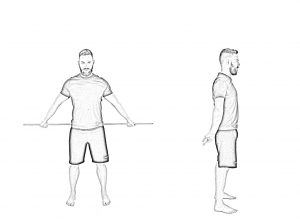
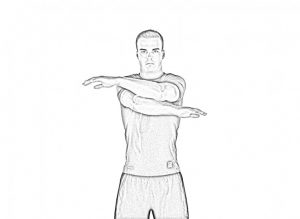
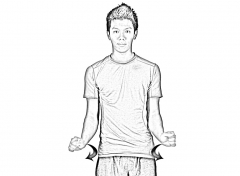
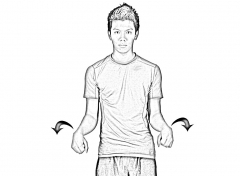
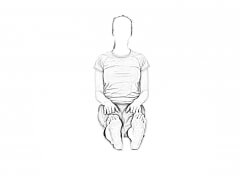
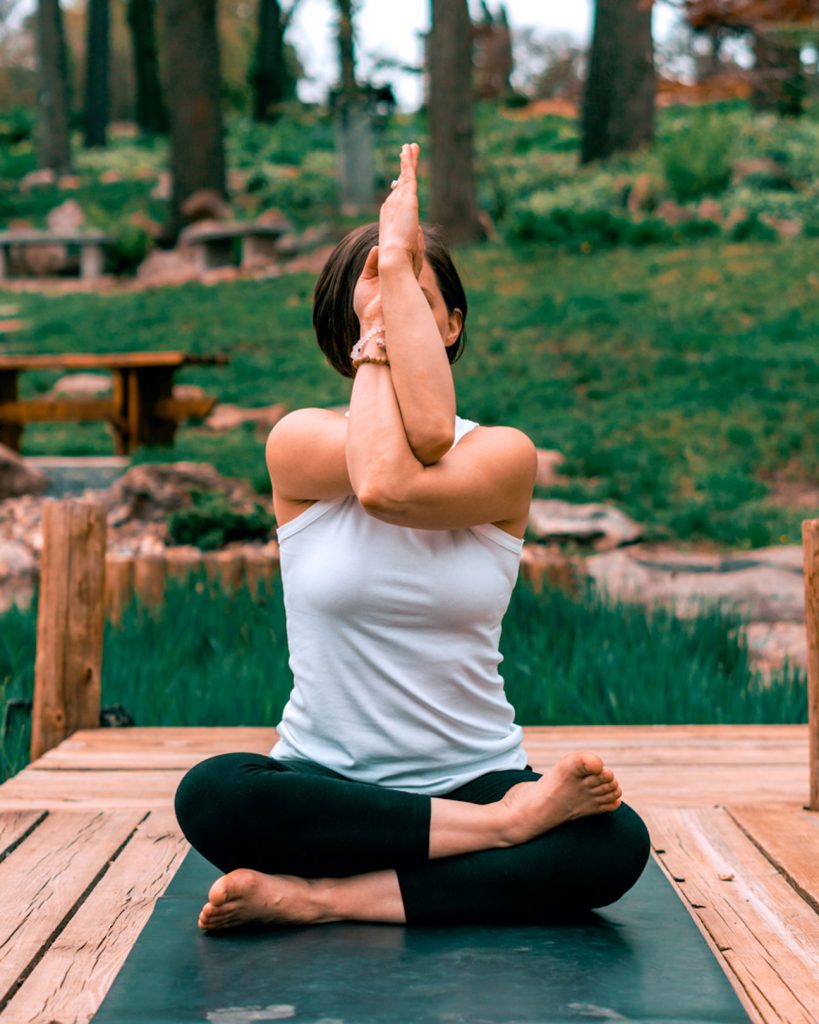
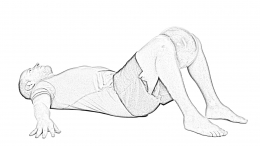
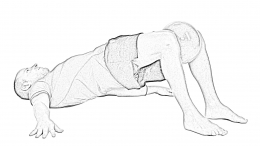
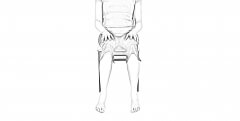
Seated Shoulder Squeeze (Flexibility / Shoulders Chest Stretching)
- Sit on the floor with your knees bent and feet flat on the floor.
- Clasp your hands behind your lower back.
- Straighten and extend your arms and squeeze your shoulder blades together.
- Do this for 3 seconds, and then release. Repeat 5 to 10 times.
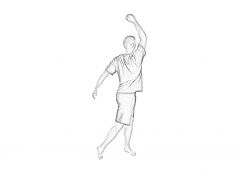
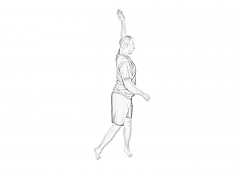
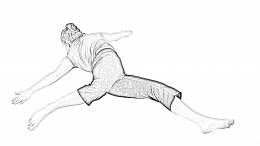
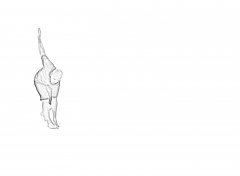
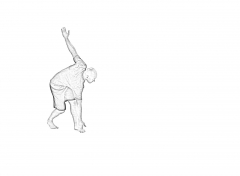
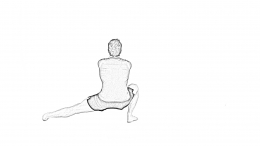
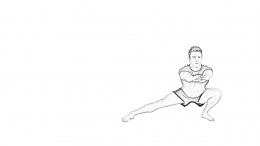
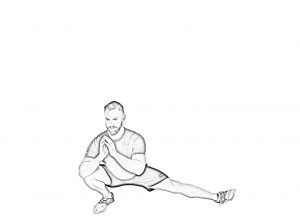
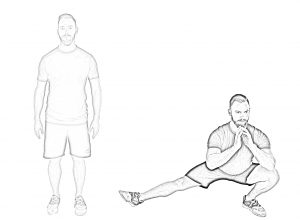
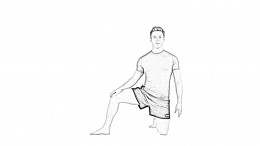
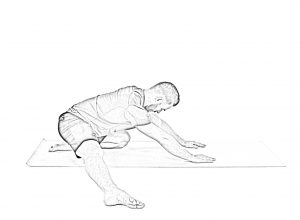
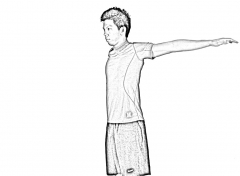
Side Bend Stretch
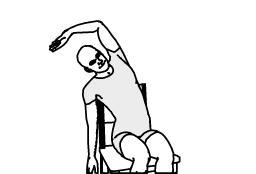
- Kneel on the floor with your legs together, back straight, and core tight.
- Extend your left leg out to the side. Keep it perpendicular to your body (not in front or behind you).
- Extend your right arm overhead, rest your left arm on your left leg, and gently bend your torso and right arm to the left side.
- Keep your hips facing forward.
- Hold this stretch for 30 seconds to 2 minutes.
- Repeat on the other side.
Stretches groin, hips, inner thigh, obliques
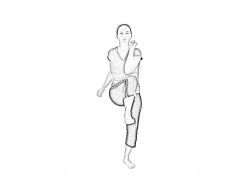
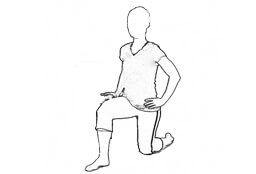
Lunging Hip Flexor Stretch
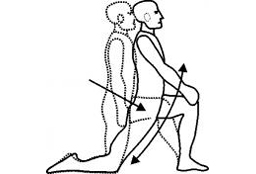
- Kneel on your left knee. Place your right foot flat on the floor in front of you, knee bent.
- Lean forward, stretching your left hip toward the floor.
- Squeeze your butt; this will allow you to stretch your hip flexor even more.
- Hold for 30 seconds to 2 minutes.
- Switch sides and repeat.
Stretches hips, quads, glutes
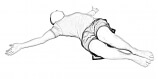
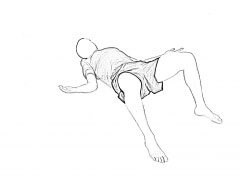
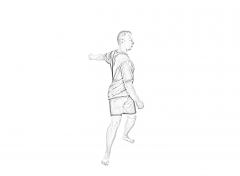
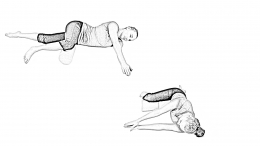
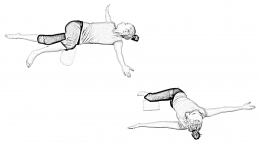
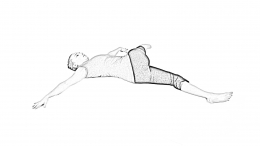
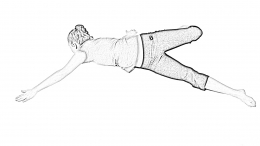
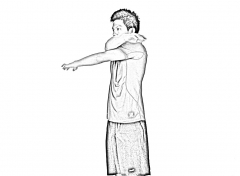
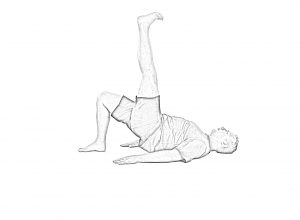
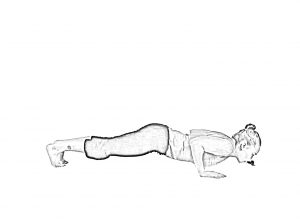
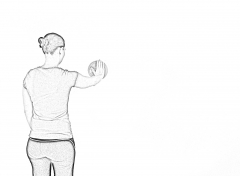
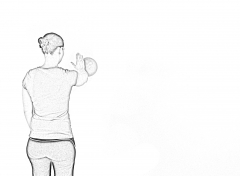
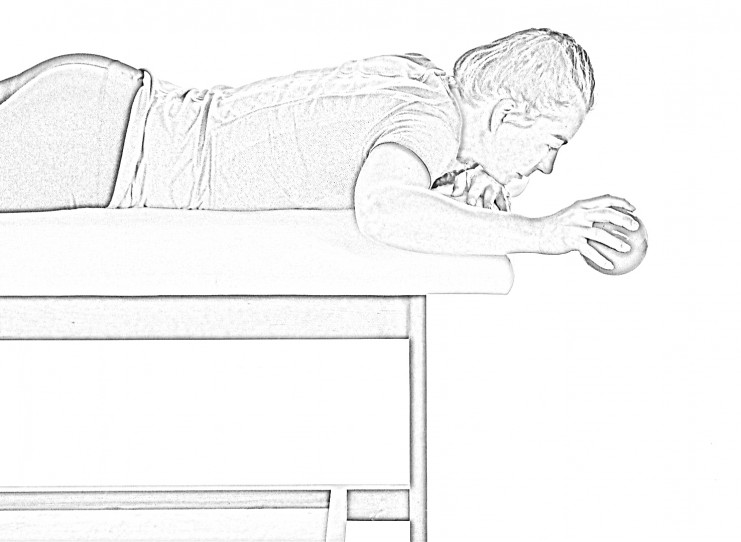
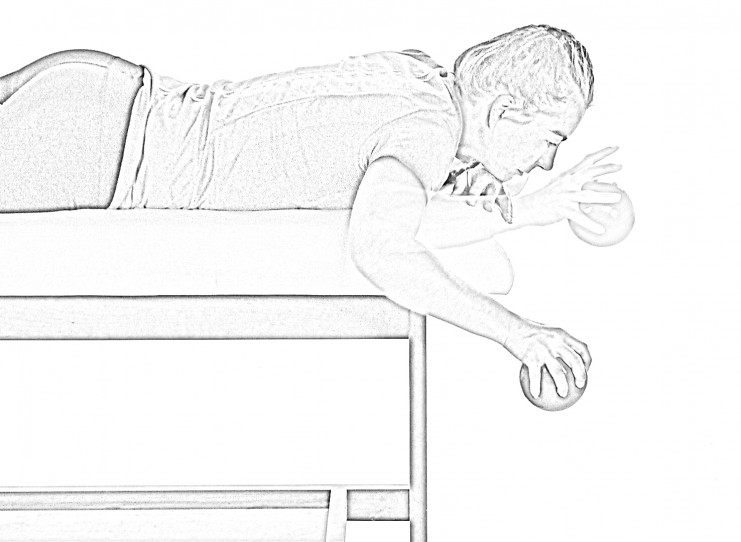
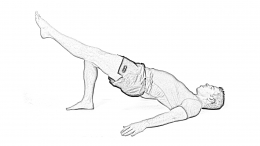
Lying Pectoral Stretch
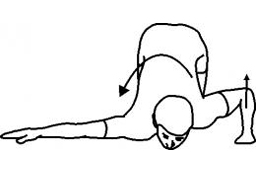
- Kneel on the ground and put your chest on the ground with both arms extended to the sides so your body is in a T shape.
- Bend your left arm and push off the ground with your left hand and start to roll to your right side. You should feel this in your right-side pectoral muscles.
- As your mobility increases, you’ll be able to stretch further and roll your body further.
- Repeat on the other side.
Stretches chest, shoulders
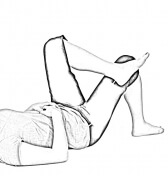
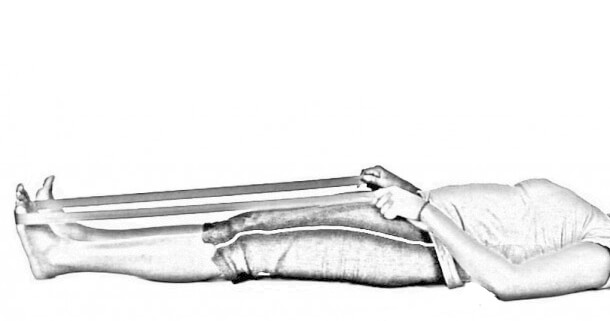
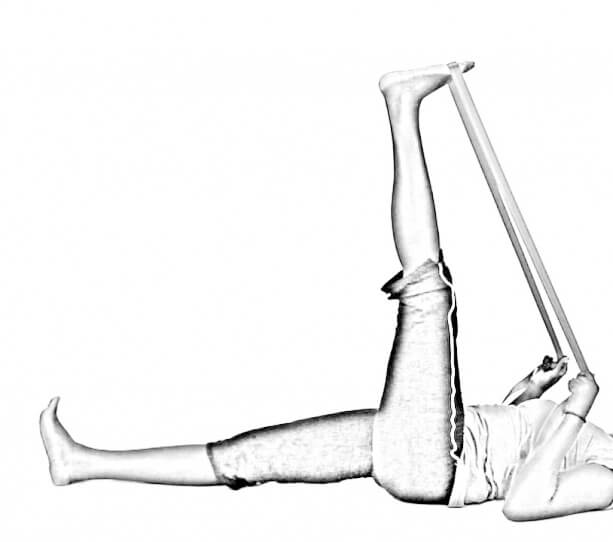
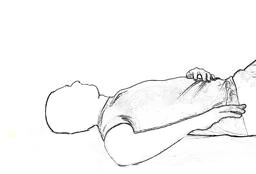
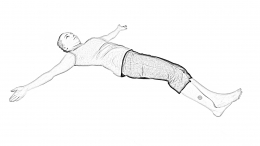
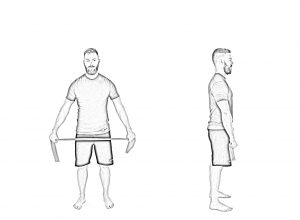
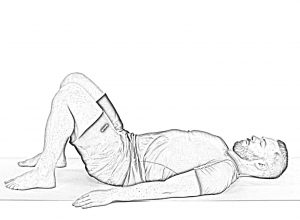
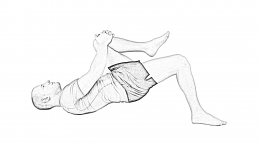
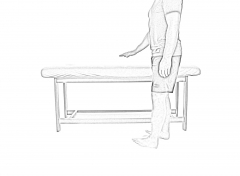
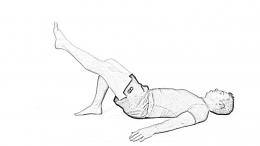
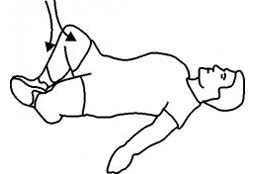
Knee to Chest Stretch Buttocks Hip Flexibility
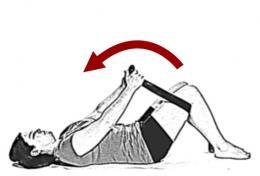
- Keep your back flat on the floor
- Lie on your back with both legs extended.
- Place a towel or strap under the knee
- Pull the band with your arms to bring the knee toward your chest
- Pull your right knee into your chest, while keeping the left leg straight and your lower back pressed into the floor.
- Hold for 30 seconds to 2 minutes.
- Repeat on the other leg.
Stretches lower back, hips, hamstrings
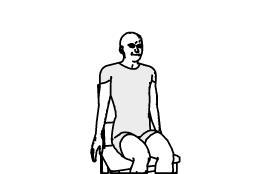
Seated Neck Release
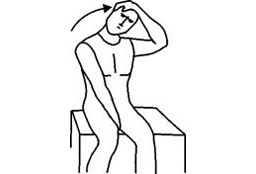
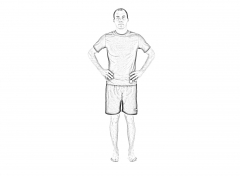
- Stand with feet shoulder-width apart, or sit down with your back straight and chest lifted.
- Drop your left ear to your left shoulder.
- To deepen the stretch, gently press down on your head with your left hand.
- Hold for 30 seconds to 2 minutes.
Stretches neck
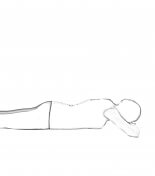
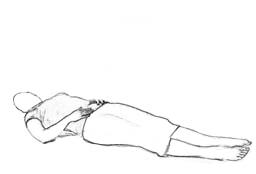
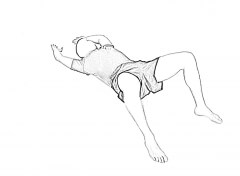
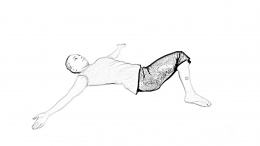
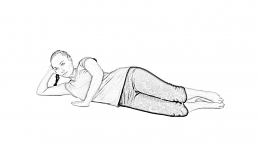
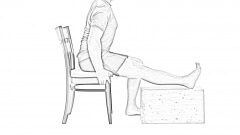
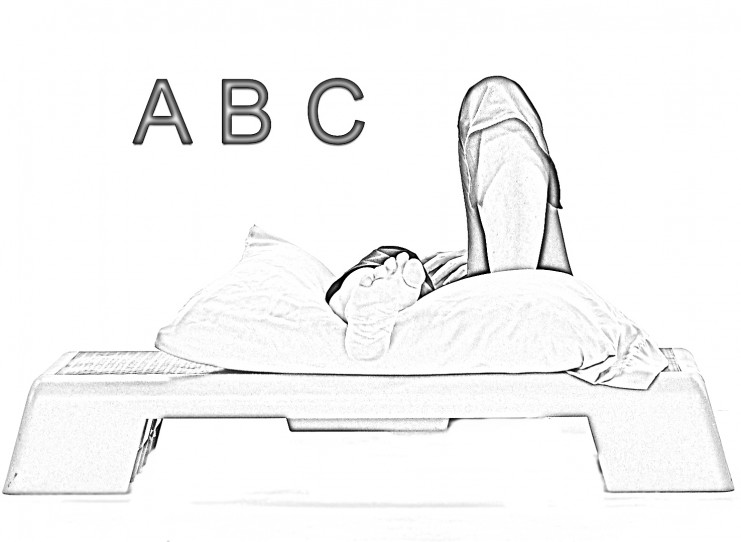
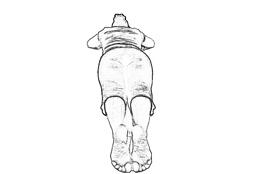
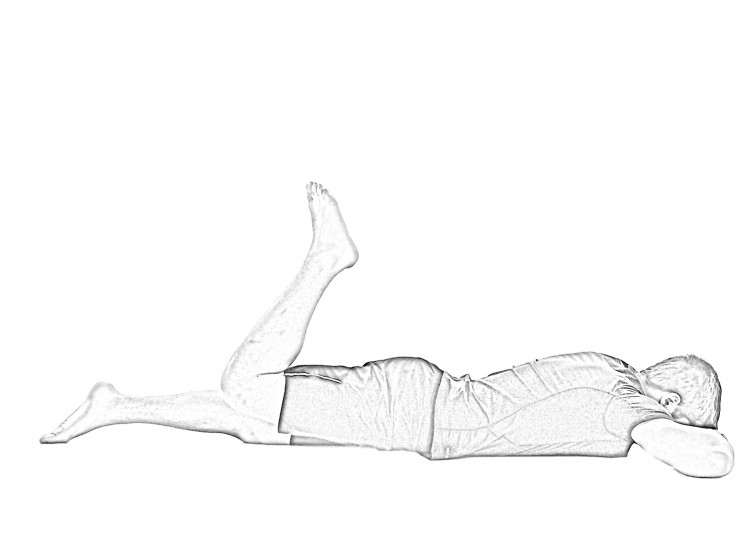
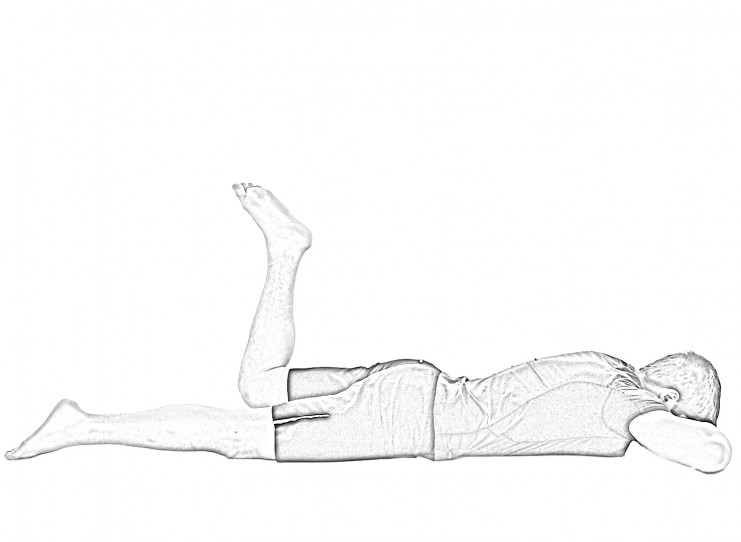
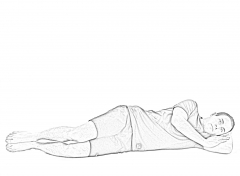
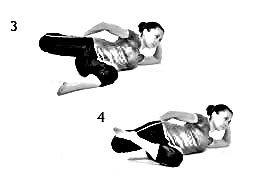
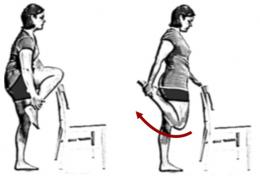
Lying Quad Stretch
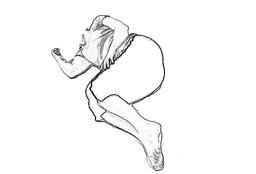
- Lying on side, bottom leg bent, take the ankle to the upper leg and pull it behind.
- Bring the heel of the lower leg slightly on the side of the thigh and maintain the position.
- Keep abs tight.
- Hold for 30 seconds to 2 minutes.
- Switch sides and repeat.
Stretches quads
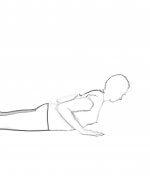
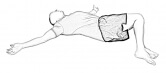
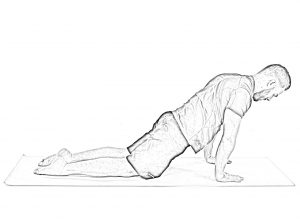
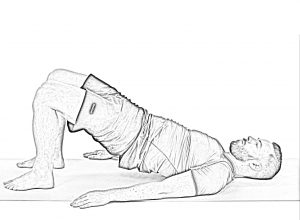
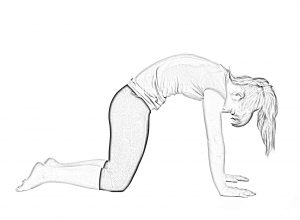
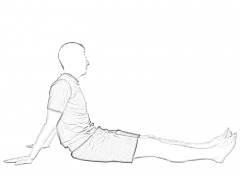
Sphinx Pose
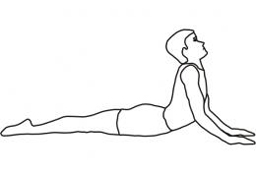
- Raise the head looking up.
- Lie on your stomach with your legs straight out behind you.
- Push slowly on the arms while keeping your hips on the ground.
- Place your elbows under your shoulders and your forearms on the floor as you lift your chest off the floor.
- Press your hips and thighs into the floor, and think about lengthening your spine while keeping your shoulders relaxed.
- Sit up just enough to feel a nice stretch in your lower back.
- Don’t hyperextend, and stop immediately if you start to feel any discomfort or pain.
Stretches lower back, chest, shoulders
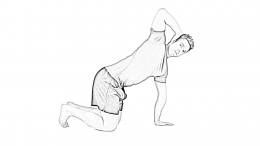
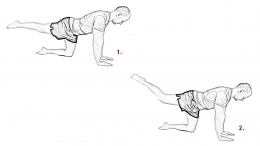
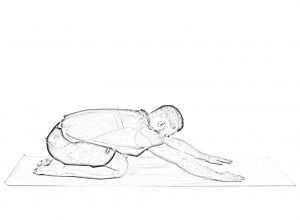
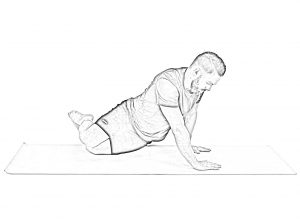
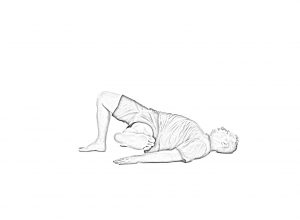
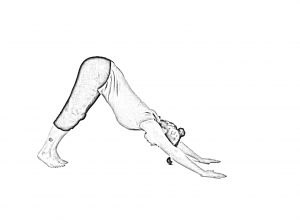
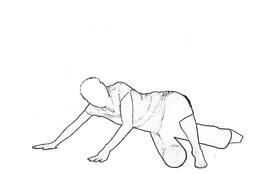
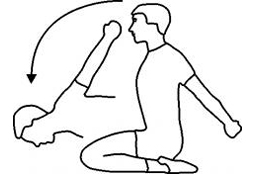
Extended Puppy Pose

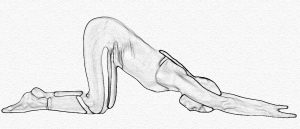
- Start on all fours.
- Walk your arms forward a few inches and curl your toes under.
- Push your hips up and back halfway toward your heels.
- Push through the palms of your hands to keep your arms straight and engaged.
- Hold for 30 seconds to 2 minutes.
Stretches back, shoulders, glutes
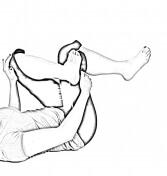
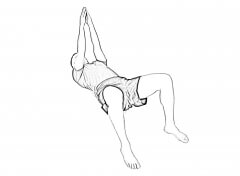
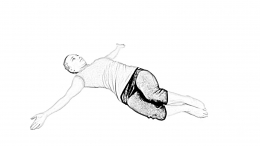
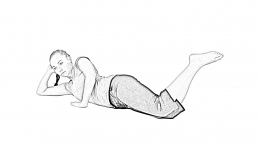
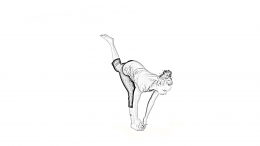
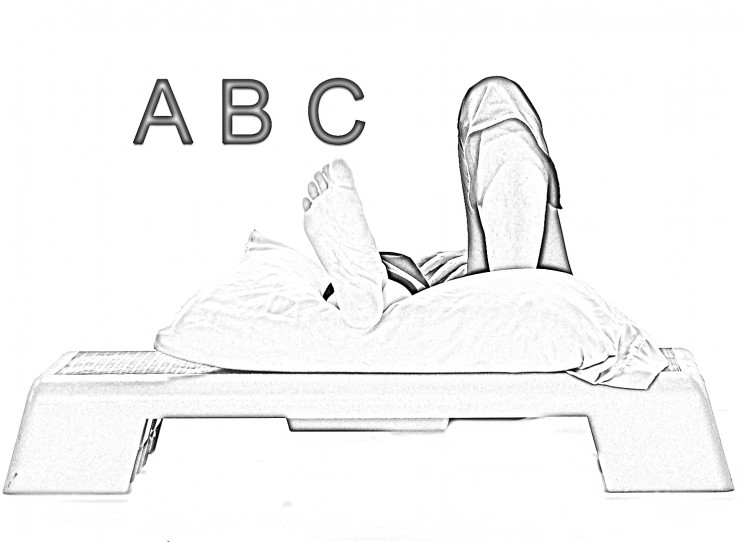
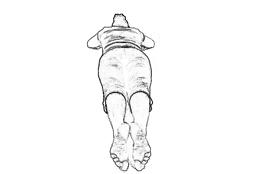
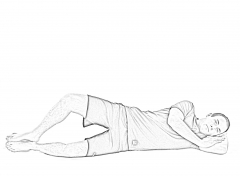
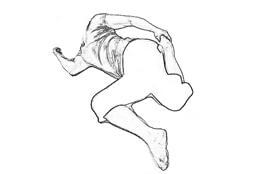
Pretzel Stretch
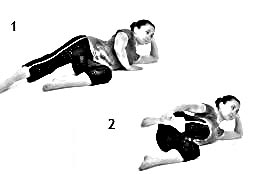
- Lying on side, bottom leg bent, take the ankle to the upper leg and pull it behind about 90 degrees at the hip and keep it up with the hand.
- Take the top leg (or ankle) and pull it back while keeping your back straight
- Bring the heel of the lower leg slightly on the side of the thigh and maintain the position
- Keep abs tight
- Ensure that the knee moves backward
Stretches quads, glutes, obliques, hips, back
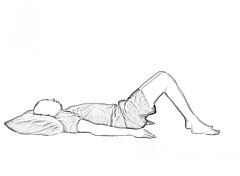
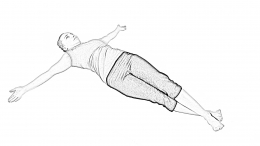
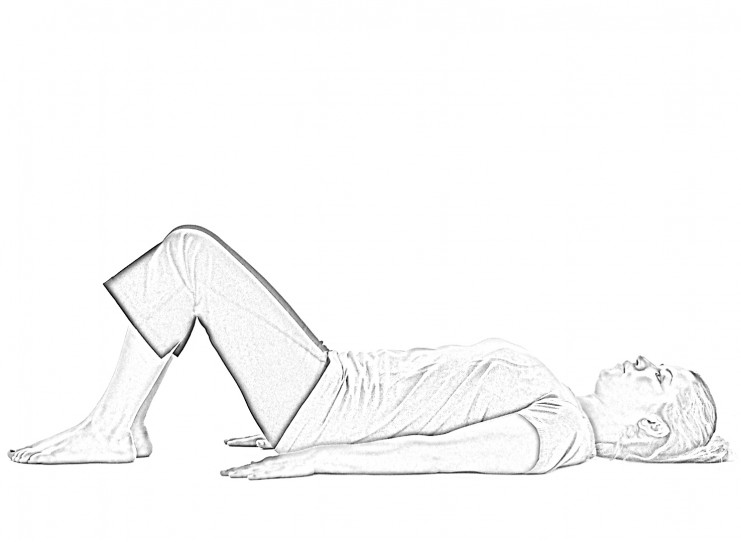
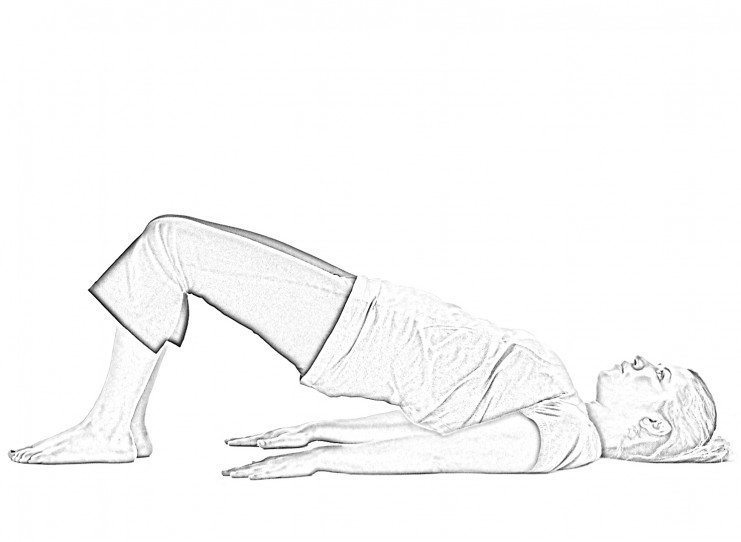
Reclining Bound Angle Pose
- Lie on your back.
- Bring the soles of your feet together and allow your knees to open up and move closer to the floor.
- Hold for 30 seconds to 2 minutes.
Stretches inner thighs, hips, groin
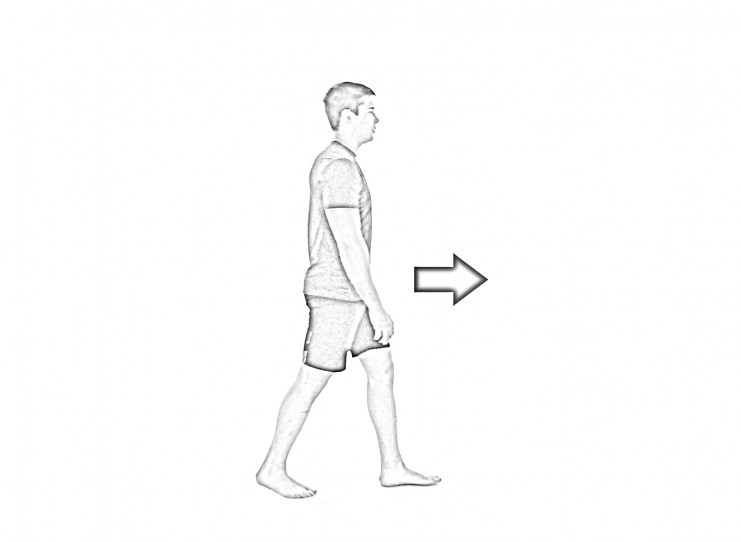
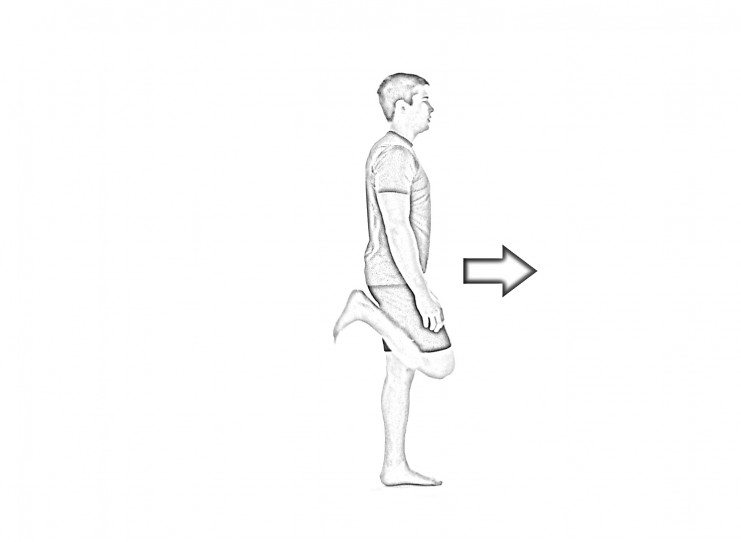
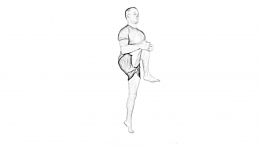
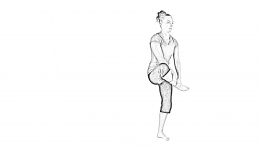
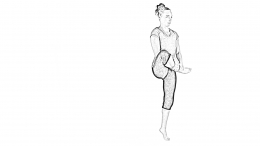
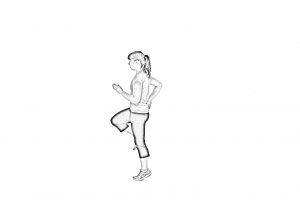
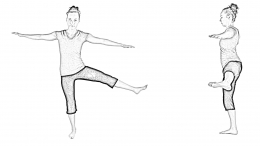
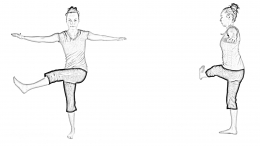
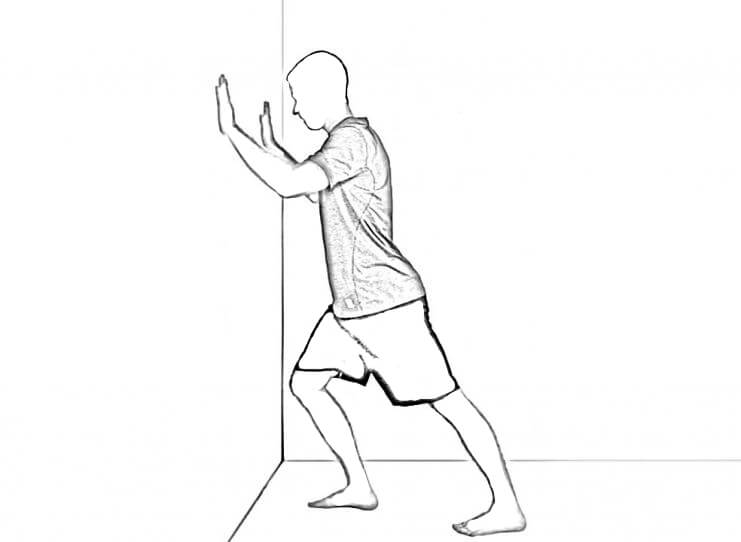
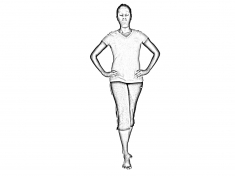
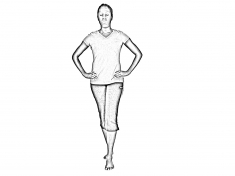
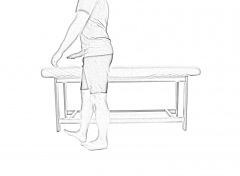
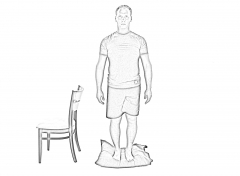
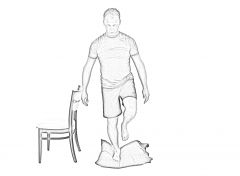
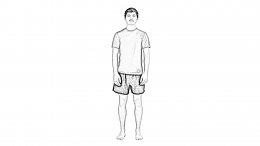
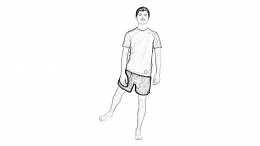
Standing Quad Stretch
- Stand with your feet together.
- Bend your left knee and use your left hand to pull your left foot toward your butt. Keep your knees together.
- If you need to, put one hand on a wall for balance.
- Squeeze your glutes to increase the stretch in the front of your legs.
- Hold for 30 seconds to 2 minutes.
- Repeat on the other leg.
Stretches quads
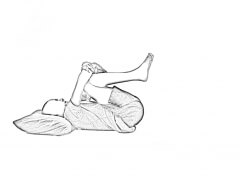
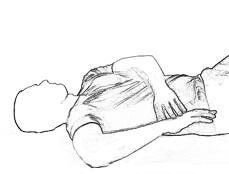
Knees to Chest

- Lie on your back and pull your knees into your chest with both hands.
- Keep your lower back on the floor.
- Hold for 30 seconds to 2 minutes.
Stretches lower back, glutes
Don’t miss out!
Subscribe to our newsletter to get your free copy of our stretching guide and get notifications when we make a new post to help you reach your fitness goals.